Final Payment on a Winter Finish: A Cold-Weather Snagging Method

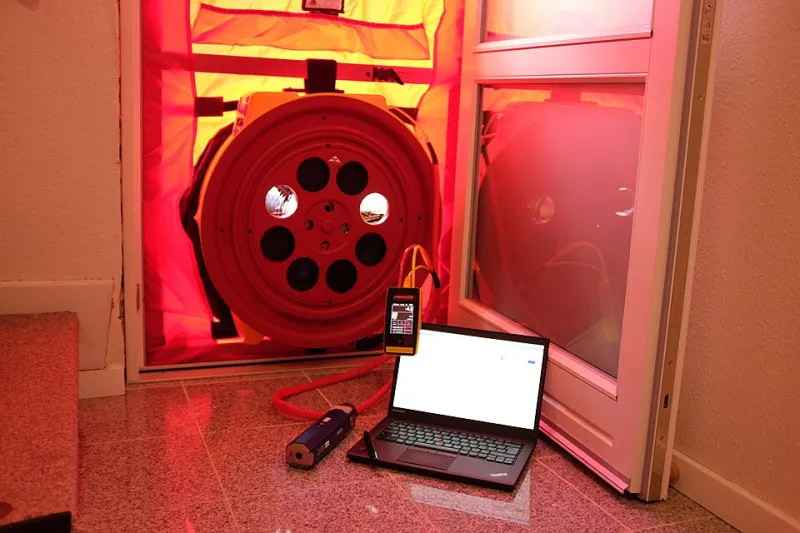
Photo: U.S. Army Corps of Engineers from USA, CC BY 2.0, via Wikimedia Commons
A renovation that reaches practical completion in late 2026, between November and February, presents a handover problem that a spring completion does not. The daylight is short, the sun sits low, and cold surfaces alter the behaviour of plaster, paint, sealant and timber. A room can appear finished under flat grey light while shadows conceal hollow tiles, missed paint edges, uneven plaster and poorly adjusted doors. The final payment is the last point of leverage; it should follow a verified snagging process, not a verbal assurance that minor items will be sorted in the spring.
Prepare the handover conditions
Before inspecting, agree in writing how snagging will work. The contract should identify a snagging period, a named person to receive the schedule, and the basis on which the final payment is released. A sensible arrangement ties the final payment to a signed, dated snag schedule with agreed remedies and completion dates. It does not make payment conditional on cosmetic perfection. For domestic work, a modest retention or holdback can provide a mechanism for minor items; whatever the arrangement, it should be recorded before the final inspection.
Assemble a simple kit: a focused torch with a narrow beam and spare batteries, a moisture meter with probes suitable for plaster and timber, a spirit level, a tape measure, a camera or phone, and a notebook or spreadsheet. Number every room and every item. Photographs should include a reference point, such as a door frame or socket, so that a defect can be found again after furniture arrives.
Read the surfaces under raking light
Begin in the darkest part of the day and supplement with torchlight. Hold the torch close to the wall and shine it across the surface rather than directly at it. Raking light exaggerates undulations in plaster, ridges at taped joints, filled screw heads, paint patches and imperfect corners. In a winter handover this is essential: low daylight flattens texture, and early dusk removes the natural side-light that would reveal it.
Work systematically. Start at the entrance and move through each room in the same order, checking walls from skirting to ceiling, then reveals, window heads, door frames and cupboard interiors. Mark each finding with low-tack tape and record it immediately. Do not rely on memory between rooms; winter inspections are often compressed into a short window of usable light.
Plaster, paint and tiling
On plaster, look for hollow areas, cracks at corners and junctions, and patches that remain darker than the surrounding surface. A moisture meter can help distinguish a drying patch from a leak, but it must be read in context. New plaster holds construction moisture, and cold surfaces can attract condensation. Take readings in several places, including an unaffected control area, and record the values and the conditions.
Paint defects are often easiest to see under raking light: missed edges, thin coats, roller marks, filler showing through and inconsistent sheen. Cold weather can slow curing and make a finish look acceptable while it is still soft; check whether painted surfaces mark or remain tacky in heated rooms. On tiling, tap gently with a plastic mallet or knuckle and listen for a hollow note. Check grout lines for cracking and movement joints at changes of plane. Silicone seals should be continuous and adhered on both edges.
Doors, windows and glazing
Operate every door and window leaf. A door that binds in winter may be poorly fitted, or it may be reacting to moisture and cold; either way, it should be recorded. Check hinges, locks, handles, closers and any trickle vents. On windows, confirm that drainage slots and weep holes are clear, that seals are continuous, and that opening lights close evenly against their gaskets.
Condensation between the panes of a sealed glazing unit is a failure of that unit, not a weather event. Condensation on the room-side surface is usually a ventilation and humidity issue, and condensation on the external surface can be normal in cold weather. The distinction matters: mist inside the cavity should not be deferred to spring.
Moisture: weather or workmanship?
Winter makes moisture diagnosis harder, because new construction is drying and cold surfaces produce condensation. A rising reading near a window reveal may be temporary; a reading that persists around a defective seal, a cracked render line or a blocked gully is not. Compare affected and unaffected areas, record external conditions, and note whether the reading falls after ventilation and heating.
Installation defects that should not be deferred include missing or badly lapped damp-proof courses, sealed weep holes, incorrect falls to external paving or thresholds, failed mastic joints, and rainwater goods that discharge against the wall. These are not seasonal settling issues. A contractor may reasonably ask for time to monitor a drying wall; that is different from asking a homeowner to wait until spring for a leak to be repaired.
Joinery, floors and the cold
Check skirting, architraves, stair parts and kitchen units for gaps, movement and poor alignment. Timber shrinks and expands with the seasons, so a hairline gap at a mitre is not automatically a defect. A gap that opens because a frame is twisted, or a cupboard door that will not stay closed because its hinges are wrongly set, is a workmanship issue. Walk floors slowly and listen for squeaks and movement; check thresholds and floor transitions for trip hazards and gaps.
The snag schedule and the payment
The snag schedule should be a single numbered document. For each item, record the room, the location, the defect, the evidence, the agreed remedy and a completion date. Both parties should sign it. The final payment can then be released in stages: an agreed sum on signing, and the balance when the listed items are confirmed complete. Reinspect in daylight where possible, and use the torch again for any repaired plaster or paint.
A winter completion is not a reason to accept a lower standard. It is a reason to inspect more deliberately. The final payment should follow evidence, not the calendar.
Winter handover checklist
- Agree the snagging period and payment release in writing before the final inspection.
- Inspect with a raking torch, not overhead light alone.
- Take moisture readings in context and record control readings.
- Operate every door, window, lock and vent.
- Distinguish cavity misting from surface condensation.
- Record installation defects separately from drying and seasonal movement.
- Sign a numbered schedule with remedies and dates.
- Release the final payment against verified completion.